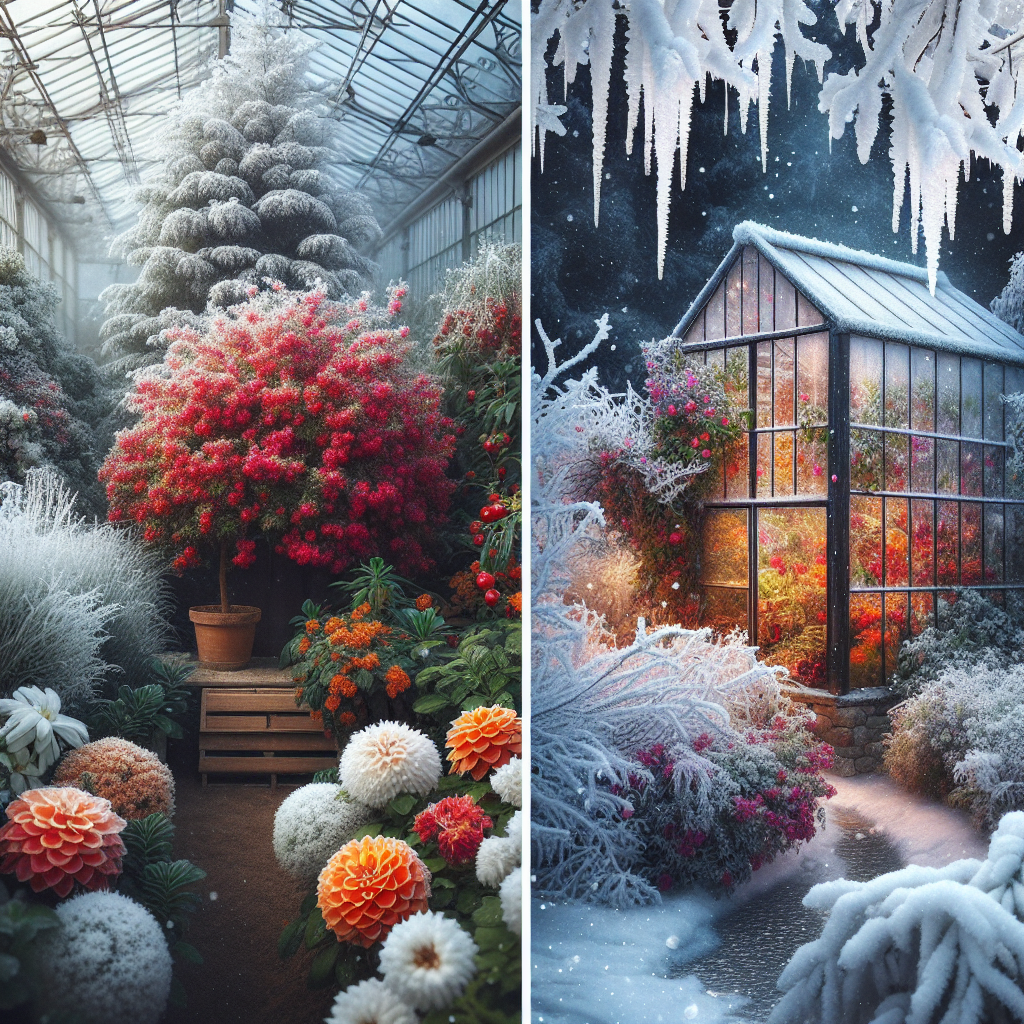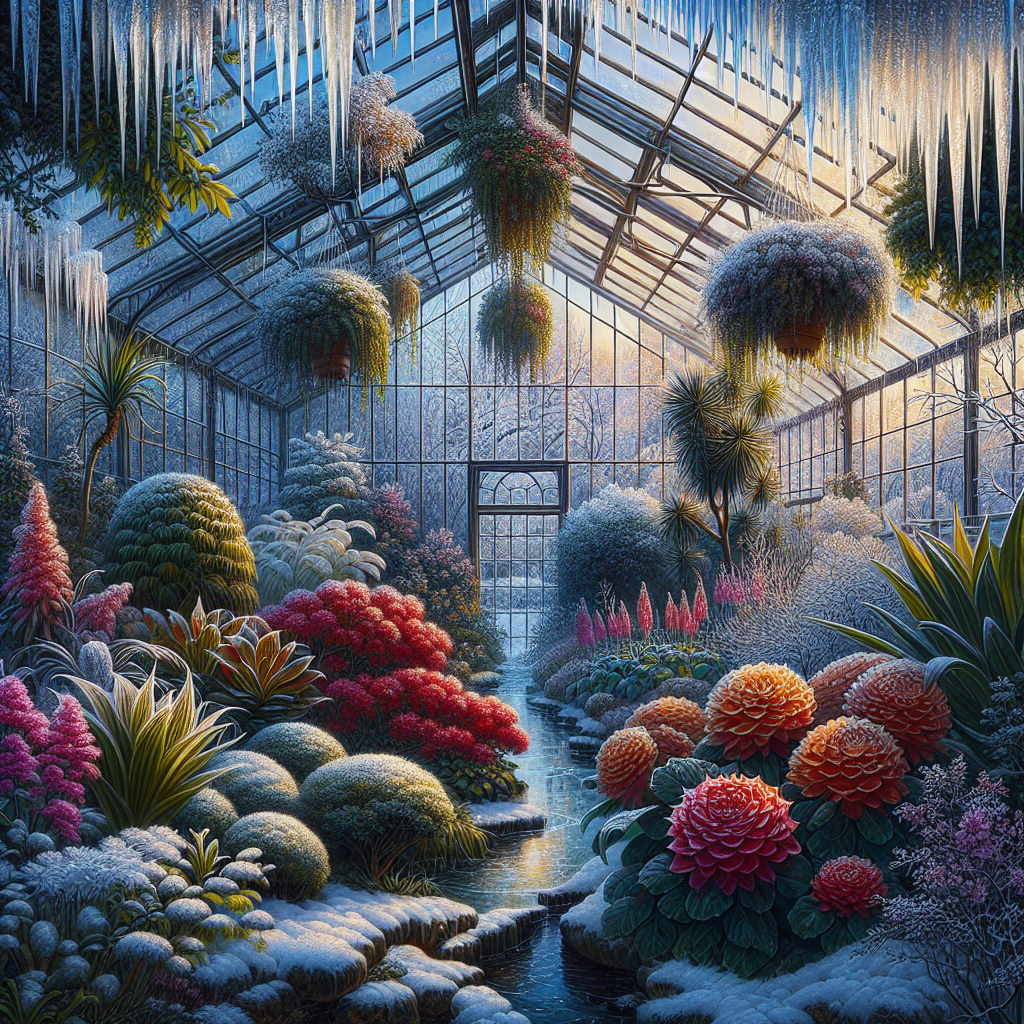
Imagine capturing the beauty of a winter wonderland in the comfort of your own greenhouse garden. This article presents you with valuable photography tips specifically designed to capture the enchanting essence of winter plants thriving in a greenhouse. Discover how to emphasize vibrant colors, play with lighting, and showcase the intricate details of these resilient plants. Whether you are an amateur photographer or a seasoned professional, this article will inspire you to create stunning winter greenhouse garden photographs that truly capture the magic of the season.

Choosing the Right Gear
Selecting the Right Camera
When it comes to choosing the right gear for greenhouse garden photography, the first step is selecting the right camera. As an avid photographer, you know that the quality of your equipment can make a big difference in the final result of your images. For greenhouse photography, a camera with a high-resolution sensor and good low-light capabilities is essential. Look for a camera that allows you to adjust settings manually and has a wide range of lenses available.
Choosing the Proper Lenses
Once you have chosen the camera that suits your needs, the next step is selecting the proper lenses. The right lenses can help you capture the beauty and details of plants in the greenhouse. Consider investing in a macro lens, which allows you to focus on small details and capture intricate textures. Additionally, a wide-angle lens can be useful for capturing the entire greenhouse or creating interesting perspectives. Choose lenses that are compatible with your camera and provide the focal lengths you need for your desired shots.
Essential Accessories
In addition to the camera and lenses, there are a few essential accessories that can greatly enhance your greenhouse garden photography. One of the most important accessories is a sturdy tripod. This will help you achieve sharp, blur-free images, especially in low light conditions. A remote shutter release or timer can also be useful to minimize camera shake. It is also recommended to carry extra batteries and memory cards to ensure that you never miss a perfect shot. Finally, a lens cleaning kit is essential to keep your lenses free from dust and smudges.
Preparing the Greenhouse
Arranging the Plants
Before you start taking photos in the greenhouse, it is important to carefully arrange the plants to create an aesthetically pleasing composition. Consider the colors, shapes, and sizes of the plants and their placement within the greenhouse. Experiment with different arrangements and viewpoints to find the most visually appealing composition. Remember, the arrangement of the plants can greatly impact the overall look and feel of your photographs.
Cleaning the Greenhouse
A clean greenhouse is essential for capturing crisp and vibrant images. Before you start shooting, take the time to clean the greenhouse thoroughly. Remove any dirt, debris, or dead leaves from the plants and surrounding areas. Wipe down the windows and glass surfaces to remove any smudges or imperfections that could affect the quality of your photos. By starting with a clean environment, you set yourself up for success in capturing stunning images.
Creating a Suitable Background
In greenhouse garden photography, the background plays a crucial role in the overall composition of the image. Aim for a clean and uncluttered background that highlights the plants as the main subject. Consider using plain colored backdrops or large pieces of fabric to create a seamless and distraction-free background. Experiment with different colors and textures to enhance the visual impact of your photos. Remember, a well-chosen background can make your plants stand out and create a more visually pleasing image.
Optimizing Lighting Conditions
Positioning the Greenhouse
When photographing plants in a greenhouse, it is important to consider the positioning of the greenhouse to optimize lighting conditions. As a general rule, a south-facing greenhouse receives the most sunlight throughout the day. Positioning the greenhouse in a way that maximizes natural light can greatly enhance your images. Take note of how the sunlight filters through the windows and use this knowledge to your advantage when composing your shots.
Utilizing Natural Light
Natural light can be a greenhouse photographer’s best friend. It provides a soft and diffused light that can enhance the colors and textures of the plants. To make the most of natural light, try shooting during the golden hour, which is the hour after sunrise or before sunset. During this time, the light is warm and casts a beautiful glow on your subjects. Experiment with different angles and positions to capture the play of light and shadow on the plants.
Using Artificial Lighting
In situations where natural light is limited or not ideal, artificial lighting can be a useful tool for greenhouse garden photography. Consider using portable LED lights or photography-specific lighting kits to add supplemental light to your shots. This can help create a well-balanced and evenly lit image. Experiment with different lighting setups, such as side lighting or backlighting, to achieve different effects and highlight specific features of the plants.
Mastering Exposure
Understanding Exposure Settings
Understanding exposure settings is crucial for achieving well-exposed images in greenhouse garden photography. Exposure refers to the amount of light that reaches the camera sensor. To master exposure, familiarize yourself with the three main components: aperture, shutter speed, and ISO. These settings work together to control the amount of light entering the camera and the overall brightness of the image. Experiment with different exposure settings to find the right balance for your desired shots.
Using Histograms
Histograms are an invaluable tool for evaluating and adjusting exposure in greenhouse garden photography. Histograms display the distribution of tonal values in an image, ranging from shadows to highlights. By analyzing the histogram, you can determine if the image is properly exposed or if adjustments are needed. Aim for a well-balanced histogram with a range of tones without any clipping in the shadows or highlights. Use the histogram as a guide to make exposure adjustments and achieve the desired results.
Managing White Balance
White balance is essential for accurately representing the colors of the plants in your greenhouse garden photography. Different lighting conditions can cast different color tints on your images, causing an inaccurate representation of the true colors. To manage white balance effectively, consider using a gray card or a custom white balance setting on your camera. This will help ensure that the colors in your images appear natural and true to life. Experiment with different white balance settings to achieve the desired mood and effect in your photos.

Composition Techniques
Rule of Thirds
The rule of thirds is a fundamental composition technique that can greatly enhance the visual impact of your greenhouse garden photography. Imagine dividing your image into nine equal sections by drawing two vertical and two horizontal lines. The intersecting points of these lines are known as the “points of interest.” By placing your main subject or focal point on these points, you create a visually balanced and engaging composition. Experiment with different placements and perspectives to find the most appealing composition using the rule of thirds.
Leading Lines
Leading lines are a powerful composition technique that can direct the viewer’s attention towards your main subject or focal point. In greenhouse garden photography, use the lines created by paths, rows of plants, or even the veins of leaves to lead the viewer’s gaze. These lines can add depth, dimension, and a sense of direction to your images. Experiment with different angles and perspectives to make the most of leading lines and create visually dynamic compositions.
Framing
Framing is a composition technique that involves using elements within the scene to frame your subject. In a greenhouse garden photography setting, you can utilize the architecture of the greenhouse, doors, windows, or even natural elements like branches or flowers to create frames within your composition. Framing adds depth, context, and visual interest to your images. Look for opportunities to incorporate frames that enhance the overall composition and draw attention to your subject.
Capturing Plant Details
Macro Photography Techniques
Macro photography allows you to capture the intricate details and textures of plants up close. To achieve successful macro shots in a greenhouse garden, consider using a dedicated macro lens and a tripod to ensure sharpness and stability. Pay close attention to the composition, focusing on the most captivating details. Experiment with different angles, depths, and lighting to highlight the unique features of the plants. Macros can reveal a hidden world within the greenhouse, so take your time to explore and capture these delicate details.
Showing Different Stages of Growth
Another way to capture the beauty of greenhouse gardens is by showcasing the different stages of plant growth. From seedlings to fully bloomed flowers, each stage offers unique photographic opportunities. Experiment with capturing emerging buds, delicate sprouts, and vibrant blossoms to tell the story of growth and transformation. Play with depth of field to focus on specific stages or elements and create visually compelling images that evoke a sense of wonder and awe.
Highlighting Unique Features
Every plant in a greenhouse has its own unique features that make it special and captivating. It could be the vibrant colors of the petals, the intricate patterns on the leaves, or even the unusual shape of the plant itself. Explore and experiment with different angles, lighting, and compositions to highlight these unique features. Whether it’s a close-up of a vividly colored flower or a wide-angle shot that showcases the grandeur of a unique plant, capturing these distinctive elements will set your greenhouse garden photography apart.
Emphasizing Colors and Textures
Contrasting Vivid Colors
Vivid colors are a hallmark of greenhouse gardens, and emphasizing these colors in your photography can create eye-catching and visually striking images. Look for complementary or contrasting colors to create a dynamic and vibrant composition. For example, pair red flowers with green leaves, or yellow blooms with a blue sky background. Experiment with different angles, lighting, and compositions to make the colors pop and evoke a sense of energy and excitement.
Highlighting Textures
One of the unique aspects of greenhouse garden photography is the opportunity to capture and showcase the diverse textures found in plants. From the smoothness of a petal to the roughness of a stem, textures add depth and tactile appeal to your images. Use lighting to create shadows that emphasize the textures, or experiment with close-ups and macro shots to capture the intricate details. Don’t be afraid to get close and explore the tactile nature of plants to highlight their unique textures.
Using Depth of Field
Depth of field is a powerful tool to emphasize colors and textures in greenhouse garden photography. By adjusting your aperture settings, you can control the depth of field and determine what elements in the frame are in focus. Use a wide aperture (low f-stop number) to create a shallow depth of field, blurring the background and isolating your main subject. This technique can help draw attention to the vibrant colors and textures of the plants, creating a visually compelling image.
Including People and Wildlife
Including Gardeners in Action
To add a human element and a sense of scale to your greenhouse garden photography, consider including gardeners in action within your shots. Whether they are tending to the plants, watering, or simply observing, the presence of people can add depth and narrative to your images. Take candid shots to capture the essence of their actions, or direct them to enhance the composition. Including gardeners in your photos not only showcases the relationship between humans and plants but also adds a personal touch to your greenhouse garden photography.
Photographing Insects and Birds
Greenhouse gardens are often teeming with fascinating insects and birds that contribute to the overall ecosystem. Try capturing these creatures in your images to add a sense of life and movement. Macro photography can be particularly useful for photographing insects up close, while a telephoto lens can help you capture birds from a distance without disturbing them. Patience is key when photographing wildlife, so take your time and observe their behavior to capture unique and interesting moments in your images.
Creating a Sense of Scale
To truly portray the grandeur and beauty of greenhouse gardens, it is important to convey a sense of scale. Including elements or objects that provide a point of reference can help viewers visualize the size and proportions of the plants. Consider including a person, a gardening tool, or architectural features, such as benches or arbors, within the frame to create a sense of scale. This adds depth and context to your images, giving viewers a better understanding of the size and magnitude of the greenhouse garden.
Dealing with Condensation and Fogging
Preventing Lens Fogging
Condensation and fogging can be common challenges when photographing in a greenhouse environment. To prevent lens fogging, acclimate your camera and lenses to the warmer and more humid conditions of the greenhouse before shooting. Keep your camera gear in a bag to allow it to adjust gradually to the temperature and humidity inside. Additionally, consider using a lens hood to reduce the chances of condensation forming on the front element of your lens. Properly managing fogging will ensure clear and crisp images.
Managing Condensation on Plants
While condensation on plants can add a sense of freshness and natural beauty to your images, it can also impact the clarity of the shot. To manage condensation, allow the plants to acclimate to the warmer greenhouse environment before shooting. Give them time to dry off naturally, or gently remove excess moisture using a soft cloth or tissue. By managing condensation on the plants, you can capture clear and detail-rich images that showcase the true beauty of the foliage and flowers.
Using Lens Hoods and Filters
To further manage condensation and minimize the impact of humidity in a greenhouse environment, consider using lens hoods and filters. Lens hoods not only help prevent lens flare and protect the lens from accidental bumps, but they can also provide an additional barrier against condensation forming on the lens. Filters, such as UV filters or polarizing filters, can also be useful for protecting the front element of the lens from moisture and provide an added layer of protection. Taking these precautions will help ensure that your images turn out clean and free from unwanted haze or blur.
Editing and Post-Processing
Adjusting Exposure and Contrast
After capturing your greenhouse garden images, it’s time to enhance them through editing and post-processing. One of the key adjustments to make is to adjust exposure and contrast. Use editing software to fine-tune the brightness and overall exposure of your images. This can help bring out details in the shadows and highlights, resulting in a more well-balanced and visually appealing photograph. Be mindful not to overexpose or underexpose the image, but rather aim for a natural and pleasing look.
Sharpening Images
To ensure that the fine details and textures are well-defined in your greenhouse garden photography, it’s essential to sharpen your images during post-processing. Use sharpening tools in editing software to enhance the crispness and clarity of your photos. Be cautious not to over-sharpen, as this can create an unnatural and harsh look. Experiment with different sharpening settings to find the right balance that enhances the details without introducing artifacts or noise.
Enhancing Colors
Lastly, to truly bring out the vibrant colors of your greenhouse garden photography, consider enhancing the colors during the editing process. Use tools in editing software to adjust the saturation, vibrancy, and color balance of your images. Aim for a natural and balanced look that accurately represents the colors of the plants. Be mindful not to oversaturate the colors, as this can lead to an unrealistic appearance. Fine-tuning the colors will give your images that extra pop and visual impact.
In conclusion, capturing the beauty of a greenhouse garden through photography requires careful selection of gear, proper preparation of the environment, and a good understanding of composition and lighting techniques. By selecting the right camera and lenses, arranging the plants and creating a suitable background, optimizing lighting conditions, mastering exposure, and utilizing composition techniques, you can capture stunning greenhouse garden photographs. Remember to pay attention to the details, embrace the colors and textures, include people and wildlife, manage condensation and fogging, and enhance your images through editing and post-processing. With these winter greenhouse garden photography tips, you’ll be well-equipped to capture the enchanting and vibrant world of greenhouse gardens. Happy shooting!

